
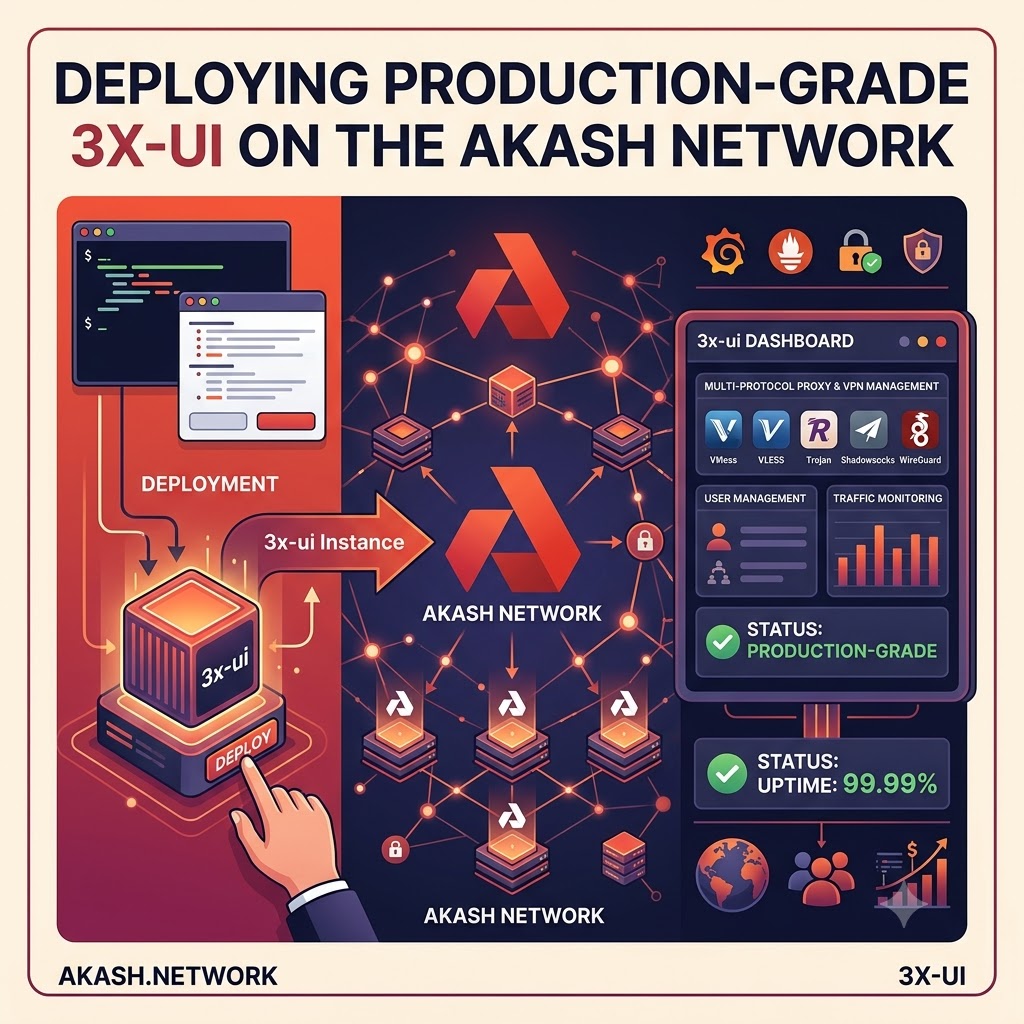
The Architect’s Guide: Deploying 3x-ui on the Akash Supercloud (Post-BME)
1. What is Akash Network & Why is it the Best Solution for 3x-ui?
Akash Network is a decentralized, peer-to-peer open-source cloud marketplace. Often referred to as the “Supercloud,” it allows anyone to buy and sell computing resources securely using a blockchain consensus layer. Why deploy 3x-ui here?
- Censorship Resistance: Traditional VPS providers (like DigitalOcean or AWS) can terminate your VPN instances without warning if they detect proxy traffic. Akash is permissionless; providers run automated orchestration layers (Kubernetes) and do not police your deployments.
- Cost Efficiency: Because Akash utilizes underused global data center capacity, compute resources are traditionally 70-85% cheaper than hyperscalers.
- Ephemeral Security: If your instance gets blocked by a state firewall, you can tear down the lease and spin up an exact replica on a completely different provider in a different country within 30 seconds.
2. Wallets, Balances, and the BME Mechanism
With the adoption of the Burn-Mint Equilibrium (BME) model, network deployments are no longer priced in volatile AKT. Instead, users burn their AKT to mint a stable, USD-pegged credit called ACT (Akash Compute Token).
Creating a Wallet
Ensure your local administrative workstation has the provider-services binary installed and use it to generate a new keypair:
provider-services keys add wallet_name(Save the 24-word seed phrase outputted by this command. It is your only recovery mechanism.)
Checking Your Balance
Locate your public address and query the blockchain:
export AKASH_ADDRESS=$(provider-services keys show wallet_name -a)
provider-services query bank balances $AKASH_ADDRESS --node $AKASH_NODE
Burning AKT to ACT
Under the BME model, ACT operates as a non-transferable internal network credit. When you execute a transaction to fund your deployment escrow, the network’s BME Vault module dynamically calculates the current AKT/USD oracle price.
From the CLI, you simply fund your deployment using the uact (micro-ACT) denomination. The network automatically handles the market-buy and burn execution behind the scenes, permanently removing the AKT from the circulating supply and crediting your escrow with ACT.
3. Storing Environment Variables
In a decentralized container environment, you do not SSH into a server to edit .env files. Instead, environment variables are injected directly through the Stack Definition Language (SDL) file during deployment.
These variables are temporarily stored in the provider’s Kubernetes pod RAM and are inherently stateless.
Security Note: Your deploy.yaml file acts as your master configuration. Keep it secure locally. Do not commit it to a public GitHub repository if it contains sensitive proxy credentials or database passwords.
4. The Deployment Command Chain & Bid Script
Here is the exact lifecycle of an Akash CLI deployment. Export your network variables first:
export AKASH_NODE="http://rpc.akash.network:26657"
export AKASH_CHAIN_ID="akashnet-2"
export AKASH_KEY_NAME="wallet"
The Command Lifecycle
provider-services tx deployment create deploy.yaml --dseq 10001 --deposit 5000000uact --node $AKASH_NODE --chain-id $AKASH_CHAIN_ID --from $AKASH_KEY_NAME -yprovider-services tx market lease create --dseq 10001 --provider akash1provideraddresshere... --node $AKASH_NODE --chain-id $AKASH_CHAIN_ID --from $AKASH_KEY_NAME -yprovider-services send-manifest deploy.yaml --dseq 10001 --provider akash1provideraddresshere... --node $AKASH_NODE --from $AKASH_KEY_NAMEprovider-services lease-status --dseq 10001 --provider akash1provideraddresshere... --node $AKASH_NODE --from $AKASH_KEY_NAMEprovider-services tx deployment close --dseq 10001 --node $AKASH_NODE --chain-id $AKASH_CHAIN_ID --from $AKASH_KEY_NAME -yThe BME Bid Selection Script (check_bids.sh)
Save this bash script to easily read incoming provider bids parsed in the new USD-pegged uact pricing logic:
#!/bin/bash
if [ -z "$AKASH_NODE" ] || [ -z "$AKASH_CHAIN_ID" ] || [ -z "$AKASH_DSEQ" ]; then
    echo "❌ Error: Missing environment variables! Set AKASH_DSEQ."
    exit 1
fi

echo "🔍 Fetching active BME bids for DSEQ: $AKASH_DSEQ..."
echo "--------------------------------------------------------------------------------"

BIDS_JSON=$(provider-services query market bid list --node "$AKASH_NODE" --chain-id "$AKASH_CHAIN_ID" --dseq "$AKASH_DSEQ" --state open --output json 2>/dev/null)
TOTAL_BIDS=$(echo "$BIDS_JSON" | jq -r '.pagination.total // "0"')

if [ "$TOTAL_BIDS" == "0" ] || [ "$BIDS_JSON" == "null" ]; then
    echo "⚠️  No open bids found."
    exit 0
fi

printf "%-15s | %-8s | %-12s | %s\n" "PRICE (ACT)" "COUNTRY" "REGION" "PROVIDER ADDRESS"
echo "--------------------------------------------------------------------------------"

echo "$BIDS_JSON" | jq -c '.bids[]' | while read -r bid_row; do
    PROVIDER_ADDR=$(echo "$bid_row" | jq -r '.bid.id.provider')
    PRICE_UACT=$(echo "$bid_row" | jq -r '.bid.price.amount')
    MONTHLY_ACT=$(echo "scale=4; $PRICE_UACT * 450000 / 1000000" | bc)

    PROVIDER_INFO=$(provider-services query provider get "$PROVIDER_ADDR" --node "$AKASH_NODE" --output json 2>/dev/null)
    COUNTRY=$(echo "$PROVIDER_INFO" | jq -r '(.. | .attributes? // empty)[] | select(.key == "country").value' | head -n 1)
    REGION=$(echo "$PROVIDER_INFO" | jq -r '(.. | .attributes? // empty)[] | select(.key == "region").value' | head -n 1)

    [ -z "$COUNTRY" ] && COUNTRY="Unset"
    [ -z "$REGION" ] && REGION="Unset"

    printf "$%-14.2f | %-8s | %-12s | %s\n" "$MONTHLY_ACT" "${COUNTRY^^}" "$REGION" "$PROVIDER_ADDR"
done
echo "--------------------------------------------------------------------------------"
5. The 3x-ui SDL File (With Custom Domain)
This configuration uses Akash’s native accept parameter to route a custom domain (via standard Port 80 ingress) directly to your 3x-ui administrative dashboard, while leaving Port 10443 open globally for raw proxy traffic.
version: "2.0"

services:
  xray-ui:
    image: ghcr.io/mhsanaei/3x-ui:latest
    expose:
      # Administrative Dashboard Mapping (Layer 7 Ingress)
      - port: 2053
        as: 80
        accept:
          - vpn.yourdomain.com
        to:
          - global: true
      # Raw Proxy Traffic Mapping (Layer 4 Global)
      - port: 10443
        as: 10443
        to:
          - global: true
    env:
      - XRAY_VMESS_AEAD_FORCED=false

profiles:
  compute:
    xray-ui:
      resources:
        cpu:
          units: 1.0
        memory:
          size: 1Gi
        storage:
          - size: 5Gi  # Ephemeral storage bypasses permission lock errors

  placement:
    akash:
      pricing:
        xray-ui:
          denom: uact  # BME Stable Pricing Token
          amount: 1000

deployment:
  xray-ui:
    akash:
      profile: xray-ui
      count: 1
6. Accessing the Dashboard & Basic Setup
- DNS Setup: After deploying, use provider-services lease-status to find the ingress host address provided by the data center (e.g., provider.uk-london.akash.network).
- Go to your domain registrar (e.g., Cloudflare) and create a CNAME record pointing vpn.yourdomain.com to that provider host address. Ensure Proxy/CDN settings are turned OFF (Grey Clouded).
- Log In: Navigate to http://vpn.yourdomain.com. Log in using the default credentials (admin / admin).
- Hardening: Go immediately to Panel Settings. Change the administrator username and password. Click Restart Panel.
- Inbound Creation: When creating your proxy inbounds (like VLESS-Reality), remember to set the External Proxy IP and Port to match the publicly forwarded address/port combinations assigned to your internal port 10443, bypassing the internal container logic mismatch!
7. Disclaimer
This guide is provided for educational and architectural purposes only. Managing cryptographic wallet keys requires stringent operational security; always backup your mnemonic phrases offline. Decentralized deployments are ephemeral by nature—unless explicitly stated, storage volumes are wiped upon deployment closure. Ensure your proxy configurations and network routing setups comply with local ISP regulations and laws regarding encrypted traffic masking.