
NaïveProxy is a censorship-resistant forward proxy that uses Chromium’s network stack to make proxy traffic indistinguishable from ordinary Chrome browsing. Akash Network is a decentralized compute marketplace where you rent containers from independent providers instead of a centralized cloud vendor.
This guide walks through the complete, tested path: building the server image, writing a working SDL, getting a lease, wiring up DNS-01 certificate issuance, and verifying everything actually works end to end — including the handful of gotchas that aren’t obvious from the docs alone.
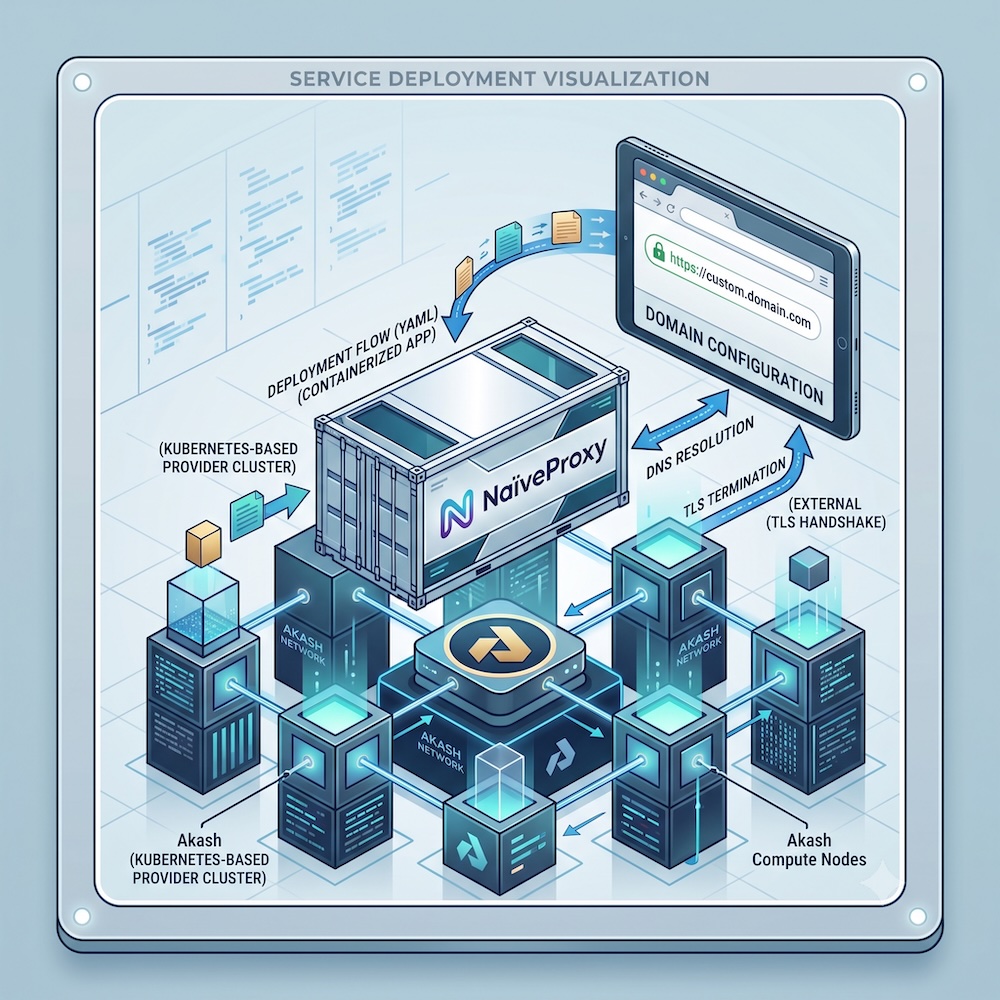
Architecture overview
The server side of NaïveProxy is Caddy + the forwardproxy plugin (klzgrad’s “naive” fork). Caddy does two jobs simultaneously:
- Terminates TLS with a real certificate for your domain
- Handles the HTTP CONNECT tunnel that NaïveProxy clients use to reach their real destination
Because Caddy needs to own the raw TLS handshake itself (that’s what makes traffic look like normal HTTPS to an observer), your Akash deployment must expose raw TCP, not HTTP-terminated ingress. This distinction drives most of the SDL design below.
1. Build the NaïveProxy image
Dockerfile:
FROM caddy:2-builder AS builder
RUN xcaddy build \
    --with github.com/caddyserver/forwardproxy@caddy2=github.com/klzgrad/forwardproxy@naive \
    --with github.com/caddy-dns/cloudflare

FROM caddy:2
COPY --from=builder /usr/bin/caddy /usr/bin/caddy
COPY Caddyfile /etc/caddy/Caddyfile
The Cloudflare DNS plugin is included because — as explained in step 3 — DNS-01 challenges are the practical way to issue a certificate when your container doesn’t have a dedicated public IP.
Caddyfile — this exact structure matters more than it looks:
{
    order forward_proxy before file_server
}

:443, {$DOMAIN} {
    tls {$ACME_EMAIL} {
        dns cloudflare {$CF_API_TOKEN}
    }
    forward_proxy {
        basic_auth {$PROXY_USER} {$PROXY_PASS}
        hide_ip
        hide_via
        probe_resistance
    }
    file_server {
        root /srv/decoy
    }
}
Two easy-to-miss requirements from the forwardproxy plugin’s own documentation:
:443,must appear before your domain in the address line, comma-separated. Without it,forward_proxydoesn’t get registered as the catch-all CONNECT handler for arbitrary destination hosts — the tunnel will appear to establish (200 OK) but relayed bytes come out corrupted, producing a confusingSSL routines::wrong version numbererror on the client side that looks like a network bug but isn’t.- The global
order forward_proxy before file_serverblock is required. Without it, Caddy’s default directive ordering can putfile_serverahead offorward_proxyin the handler chain.
file_server serves a harmless decoy site (put a basic index.html at /srv/decoy) to anyone who connects without valid proxy credentials — this is what makes casual probing of your server look like an ordinary website instead of a proxy.
Build and push:
docker build --no-cache -t yourdockerhubuser/naiveproxy-akash:v1 .
docker push yourdockerhubuser/naiveproxy-akash:v1
Use an explicit version tag (not latest) for every build during setup — Docker/Akash layer caching on latest can silently leave you running a stale image while you debug something that’s already fixed.
2. Write the SDL
The critical decision here is raw TCP forwarding, not HTTP-based accept/hostname ingress. Akash’s accept hostname routing runs through the provider’s own ingress-nginx + cert-manager stack, which terminates TLS for you with its own certificate and forwards plain HTTP onward. That’s incompatible with NaïveProxy: Caddy never sees the real TLS handshake, so it can’t issue its own cert or do the CONNECT tunneling that makes NaïveProxy work.
version: "2.0"

services:
  naiveproxy:
    image: yourdockerhubuser/naiveproxy-akash:v1
    env:
      - DOMAIN=proxy.yourdomain.com
      - PROXY_USER=someuser
      - PROXY_PASS=strongpassword
      - ACME_EMAIL=you@yourdomain.com
      - CF_API_TOKEN=your_cloudflare_api_token
    expose:
      - port: 443
        as: 443
        proto: tcp
        to:
          - global: true

profiles:
  compute:
    naiveproxy:
      resources:
        cpu:
          units: 0.5
        memory:
          size: 512Mi
        storage:
          size: 1Gi
  placement:
    akash:
      pricing:
        naiveproxy:
          denom: uact
          amount: 1000

deployment:
  naiveproxy:
    akash:
      profile: naiveproxy
      count: 1
Notes:
proto: tcpwithglobal: truegives raw passthrough — bytes go straight to your container, letting Caddy own the entire TLS/CONNECT lifecycle.- No port 80 needed: with DNS-01 challenges, there’s no HTTP-01 validation step, so you don’t need port 80 exposed at all.
Optional: dedicated IP
If a provider supports it, requesting a leased/persistent IP gives you a real static IP with port 443 mapped exactly — no random external port, and you can use plain HTTP-01 challenges if you prefer. Add:
endpoints:
  naiveproxy-ip:
    kind: ip
and reference it under expose with ip: naiveproxy-ip. In practice, IP-leasing support is rare among current providers — check a provider’s attributes (feat-endpoint-ip) before counting on this, and be ready to fall back to the random-forwarded-port approach above, which is what this guide assumes throughout.
3. Why DNS-01, not HTTP-01
Let’s Encrypt’s HTTP-01 and TLS-ALPN-01 challenges both require the validator to reach your domain on the literal standard ports 80/443. Without a leased IP, your exposed port gets mapped to a random external port on the provider’s host — Let’s Encrypt has no way to know about that random port, so those challenge types will always fail with a 404 or connection error.
DNS-01 sidesteps this entirely — it proves domain ownership via a TXT record, so it doesn’t matter what port anything is listening on. That’s why the Dockerfile and Caddyfile above are already wired for Cloudflare DNS-01.
To use it, create a Cloudflare API token (not your global API key) scoped narrowly to Zone → DNS → Edit for just the zone containing your domain, and set it as CF_API_TOKEN in the SDL’s env block.
4. Get AKT and set up the CLI
# Installation guide
# https://akash.network/docs/developers/deployment/cli/installation-guide/
curl -sfL https://raw.githubusercontent.com/akash-network/provider/main/install.sh | sh

# Create wallet, store seed phrase offline and fund the resulting akash1... address with AKT
provider-services keys add mywallet

# mint ACT by burning AKT:
provider-services tx bme mint-act 10000000uakt \
  --from "$AKASH_KEY_NAME" \
  --node "$AKASH_NODE" \
  --chain-id "$AKASH_CHAIN_ID"
5. Create the deployment
export AKASH_NODE="https://rpc.akashedge.com:443"
export AKASH_CHAIN_ID="akashnet-2"
export AKASH_KEYRING_BACKEND="os"
export AKASH_FROM="mywallet"

provider-services tx deployment create deploy.yaml \
  --deposit 5000000uakt \
  --from $AKASH_FROM --node $AKASH_NODE --chain-id $AKASH_CHAIN_ID -y
Pass an explicit --deposit well above the CLI’s minimum default. A starved deployment auto-closes the moment its escrow hits zero — if you’re not actively watching it, an underfunded deployment can silently disappear.
Check bids and accept one:
provider-services query market bid list --owner $(akash keys show $AKASH_FROM -a) --node $AKASH_NODE

akash tx market lease create \
  --dseq <DSEQ> --gseq 1 --oseq 1 --provider <PROVIDER_ADDRESS> \
  --from $AKASH_FROM --node $AKASH_NODE --chain-id $AKASH_CHAIN_ID -y

akash provider send-manifest deploy.yaml \
  --dseq <DSEQ> --provider <PROVIDER_ADDRESS> --node $AKASH_NODE
You can do all of this through Akash Console (console.akash.network) instead of the CLI, if you prefer a GUI — same SDL file, connected via Keplr wallet.
6. Find your forwarded port
provider-services lease-status \
  --dseq <DSEQ> --gseq 1 --oseq 1 --provider <PROVIDER_ADDRESS> --node $AKASH_NODE
Look at forwarded_ports.naiveproxy[0]:
{
  "host": "provider.example.org",
  "port": 443,
  "externalPort": 31050,
  "proto": "TCP"
}
externalPort is the real port clients must connect to — it’s randomly assigned and will change on every redeploy unless you have a leased IP. Always pull this fresh after any close/recreate cycle rather than reusing a number from a previous session.
7. Point your domain at it
Create a CNAME record (not a hardcoded A record) pointing at the provider’s hostname:
proxy.yourdomain.com. CNAME provider.example.org.
Use CNAME rather than resolving the hostname to an IP yourself and hardcoding that — the provider’s underlying IP isn’t guaranteed stable, and the hostname is the layer of indirection meant to absorb changes without you touching DNS again.
Set the DNS record to DNS-only (grey cloud in Cloudflare, not proxied). Cloudflare’s standard HTTP proxy layer doesn’t support CONNECT tunneling — it only speaks ordinary HTTP verbs, so a proxied record will reject NaïveProxy’s CONNECT requests with a 400 Bad Request at Cloudflare’s edge before they ever reach your container. (Cloudflare can carry raw TCP, but only through Spectrum, a separate paid product.)
8. Verify, layer by layer
Debugging a broken proxy end-to-end is painful because there are four independent layers that can each fail — DNS, TLS/cert issuance, the CONNECT tunnel, and network reachability. Test them from the inside out.
a) Confirm the certificate was actually issued. Check the container’s own logs:
provider-services lease-logs \
  --dseq <DSEQ> --gseq 1 --oseq 1 --provider <PROVIDER_ADDRESS> --node $AKASH_NODE --tail 200
Look for "challenge_type":"dns-01" followed by successful certificate acquisition. If you instead see tls-alpn-01 or http-01 being attempted, your image is still running an old HTTP-01-only Caddyfile — rebuild with --no-cache, bump the image tag, and redeploy.
b) Test locally inside the container, bypassing Akash’s networking entirely:
provider-services lease-shell \
  --dseq <DSEQ> --gseq 1 --oseq 1 --provider <PROVIDER_ADDRESS> --node $AKASH_NODE \
  --from $AKASH_FROM --stdin --tty naiveproxy /bin/sh
From inside, or from your own machine using --resolve to force the right SNI while connecting to loopback via a port-forward, run:
curl -v --resolve proxy.yourdomain.com:443:127.0.0.1 \
  -x https://user:pass@proxy.yourdomain.com:443 \
  --insecure https://example.com
This proves whether Caddy, the certificate, and the tunnel logic all work correctly with zero network variables in the way. If this fails, the problem is in your Caddyfile/build. If it succeeds, everything below is purely a networking/DNS/port issue.
c) Confirm raw TCP reachability from outside, before worrying about TLS:
nc -zv proxy.yourdomain.com <EXTERNAL_PORT>
If this hangs, the provider hasn’t actually opened the port at the firewall/NAT level yet — this can happen right after a fresh lease (give it a minute or two) or indicate the provider’s raw-TCP-forwarding support is broken. Resending the manifest sometimes forces re-application:
provider-services send-manifest deploy.yaml --dseq <DSEQ> --provider <PROVIDER_ADDRESS> --node $AKASH_NODE
If it’s still unreachable after a few minutes, the provider itself is the problem — close the deployment and get a bid from a different one.
d) Full external test:
curl -v -x https://user:pass@proxy.yourdomain.com:<EXTERNAL_PORT> https://ifconfig.me
A successful run looks like:
< HTTP/1.1 200 OK
< Server: Caddy
* CONNECT tunnel established, response 200
< HTTP/2 200
with a real response body from the destination site.
Common failure signatures, at a glance
| Symptom | Likely cause |
|---|---|
SSL certificate problem: self-signed certificate | You connected to the provider’s default port 443 (shared ingress placeholder cert) instead of your container’s actual externalPort |
challenge failed ... http-01 ... 404 in logs | Still using HTTP-01 without a leased IP; switch to DNS-01 |
Cert issuer shows Google Trust Services on a wildcard *.yourdomain.com | Cloudflare is terminating TLS itself (proxied/orange-cloud DNS record) — switch to DNS-only |
wrong version number after a successful CONNECT 200 OK | Missing :443, prefix or missing order forward_proxy before file_server in the Caddyfile |
nc -zv hangs indefinitely | Provider hasn’t opened the forwarded port, or its raw TCP forwarding is broken — try resending the manifest, then try a different provider |
Connection timed out on a specific port | You’re using a stale externalPort from a previous lease — pull it fresh from lease-status |
Client configuration
Once the server works, point a NaïveProxy client at it, including the non-standard port if you don’t have a leased IP:
{
  "listen": "socks://127.0.0.1:1080",
  "proxy": "https://someuser:strongpassword@proxy.yourdomain.com:31050"
}
Ongoing maintenance
- Escrow monitoring: top up before it runs dry —
akash tx deployment deposit <amount>uakt --dseq <DSEQ> ... - Port stability: without a leased IP, expect the external port to change on every redeploy. Recheck
lease-statusand update any client configs after each one. - Provider reliability varies significantly — raw TCP forwarding is a less common configuration than standard HTTP ingress, so not every provider has it well-tested. If one provider’s port-forwarding seems broken, trying a different provider is often faster than continuing to debug infrastructure you don’t control.
Disclaimer
This guide is provided for educational and architectural purposes only. Managing cryptographic wallet keys requires stringent operational security; always backup your mnemonic phrases offline. Decentralized deployments are ephemeral by nature—unless explicitly stated, storage volumes are wiped upon deployment closure. Ensure your proxy configurations and network routing setups comply with local ISP regulations and laws regarding encrypted traffic masking.